Last updated November 18, 2026




Free written scope consultation - allowances, timeline, and change-order rules on paper before a single trade is scheduled
Driveway & Pavers Troubleshooting in Fullerton: Common Problems and How to Fix Them
A sunken paver section almost never means the pavers are bad. It usually means a step in the base preparation got skipped, and the repair cost lands on you instead of the installer. The paver itself is the most durable part of the whole assembly. What fails first is everything underneath it: the soil, the compacted base, the bedding sand, or the drainage that’s supposed to move water away from all three. In this guide, we reverse-engineer the problems Fullerton homeowners call us about most, tracing each visible symptom back to its actual root cause so you can get a real diagnosis instead of a worst-case bid.
Quick Answer
Most driveway and paver problems in Fullerton come from one of five sources: a base that wasn’t compacted in lifts, bedding sand that washed out, joint sand that eroded, drainage that sends water under the pavers instead of off them, or the natural movement of expansive clay soil. The fix depends entirely on which one you’re dealing with. A surface repair runs on the low end; a base failure means pulling pavers and rebuilding the foundation underneath. Getting the diagnosis right the first time is what saves you from paying twice.
Styles & brands we work with
- Kitchen remodeling
- Bathroom remodeling
- Home additions & ADU
- Roofing
- Windows & doors
- Driveway & pavers
- Fence
Table of Contents
- Reading the Symptom, Finding the Source
- Base Failure vs. Bedding Sand Failure vs. Drainage Failure
- Why Paver Rocking and Lippage Trace to Fullerton’s Soil
- Joint Sand Erosion: The Correct Fix vs. the Band-Aid
- Stained and Efflorescence-Covered Pavers: Restore or Replace?
- What to Document Before You Call a Contractor
- How to Prevent Repeat Failures
- Choosing Materials That Suit the Site
Reading the Symptom, Finding the Source
Driveway troubleshooting starts with the symptom, because the symptom tells you where to look. A paver that rocks when you step on it is telling you something different than a paver that has dropped evenly across a wide area. In our experience, homeowners tend to lump all paver problems into one category and assume the material is at fault. It almost never is. The material is the one thing about a driveway that’s manufactured to a standard. Everything below it is job-site judgment, and that’s where things go wrong.
Here are the symptoms we hear about most in Fullerton, and what each one points toward:
- Individual pavers rock or tilt: bedding sand has shifted or eroded under that unit, or the base directly beneath has lost density at one spot. Usually a localized repair.
- A whole section has dropped evenly: the compacted base itself has settled or wasn’t built thick enough. Requires rebuilding the base in that area.
- Pavers heave upward in a line or mound: something is pushing from below, usually water trapped under the assembly or soil expansion. A drainage or soil issue, not a paver issue.
- Sand keeps disappearing from the joints: joint sand erosion, often from water running across the surface or from a joint width that’s too wide for the sand to lock.
- White powdery haze on the surface: efflorescence, which is mineral salts migrating up through the paver. Sometimes cosmetic, sometimes a sign of moisture cycling underneath.
- Loose sand in the joints turning to mud: bedding or joint sand mixed with soil and water. This one usually traces back to drainage.
Each of these has a different repair scope and a different cost. A localized re-bedding of a few pavers is a small job. A base rebuild on a section of driveway is not. The reason diagnosis matters so much is that the two look similar from standing height, and a contractor who doesn’t do the diagnostic work will default to the bigger repair. If you want to understand how these assemblies are supposed to be built from the start, our driveway & pavers page walks through the layers and the materials we specify.
Fullerton sits on ground that shifts with the seasons, and that factor runs through every one of these symptoms. It’s worth reading the sections below with that in mind, because soil movement changes how a failure behaves and how it should be repaired.
Base Failure vs. Bedding Sand Failure vs. Drainage Failure
These three failures look similar from the surface and have completely different repair scopes. That’s the single most important thing to understand about paver troubleshooting. If a contractor tells you “the base failed” without pulling pavers to check, get a second opinion, because you can’t diagnose a base from above.
Base failure
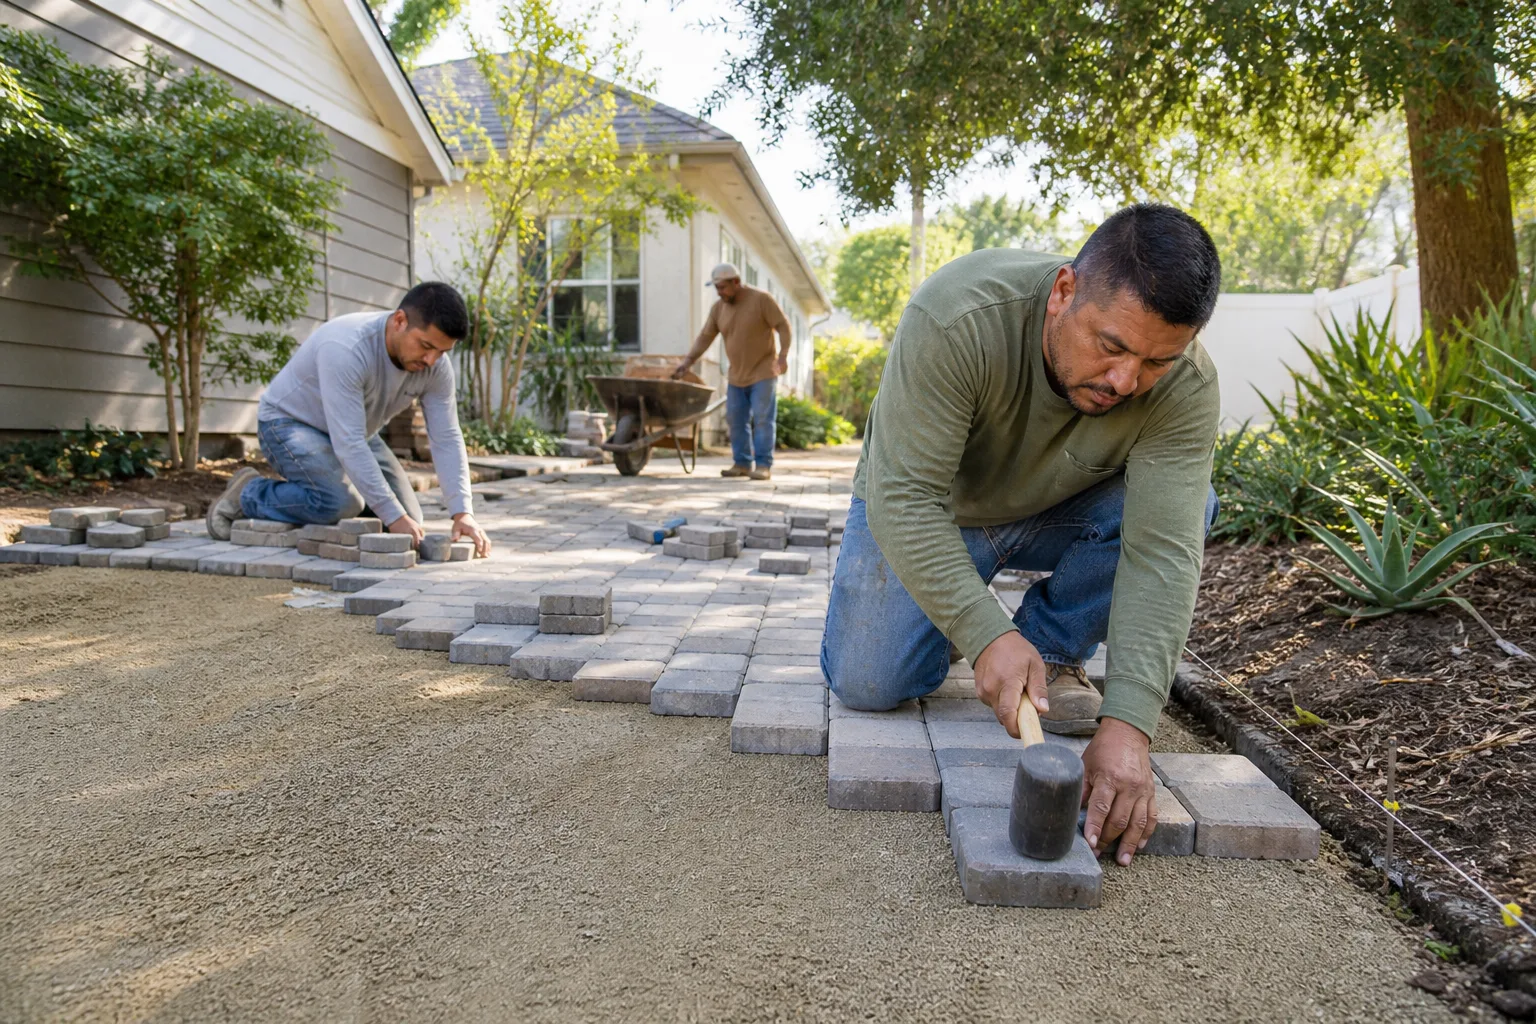
The base is the compacted layer of crushed aggregate under the bedding sand. When it’s built right, it’s compacted in lifts (typically a few inches at a time) so each layer reaches density before the next goes down. When it’s built wrong, the aggregate goes down in one thick layer, gets compacted only at the surface, and the lower portion stays loose. The pavers look fine for a season or two. Then the loose aggregate works itself into voids, and the surface settles.
Symptoms of a base failure: wide areas dropping evenly, a section that sinks further each year, pavers that stay level with each other but the whole area has gone down. Repair means pulling the pavers, removing and re-compacting or replacing the base in lifts, re-screening the bedding sand, and re-laying.
Bedding sand failure
The bedding sand is the thin layer between the base and the pavers, typically an inch or so. Its job is to let the pavers seat evenly and to fill minor irregularities in the base. Bedding sand fails when it migrates into the base, washes out at an edge, or gets pumped out by traffic. Symptoms: isolated pavers rocking or settling, a hollow sound underfoot, pavers that can be lifted easily. Repair is localized: pull the affected pavers, re-screen the bedding sand, re-set and re-sand the joints.
Drainage failure
Water is supposed to sheet off the driveway and away from the house, and whatever soaks in should drain through the joint sand, past the bedding, and out through the base. When the slope is wrong, when the edge restraint is missing, or when water from a downspout or a neighboring grade dumps onto the driveway, the whole assembly stays wet. Symptoms: sand washing out of joints repeatedly, mud appearing in the joints, efflorescence that keeps coming back after cleaning, heaving in the same area every wet season. Repair is a drainage correction first, paver work second. Fixing the pavers without fixing the water means the problem returns.
Our technicians have up to 14 years of experience, and the pattern they describe over and over is a homeowner who paid for paver replacement when the real problem was a downspout discharging at the driveway edge. Replacing the pavers didn’t fix the water. The water found the same path again.
Why Paver Rocking and Lippage Trace to Fullerton’s Soil
A lot of paver troubleshooting advice online assumes a stable, well-draining subgrade. Fullerton doesn’t always deliver that. Much of the ground here is clay-heavy, and clay expands when it holds moisture and shrinks as it dries. That cycle moves the soil under a driveway slowly but relentlessly, and it’s the reason two identical driveways built the same way two miles apart can behave differently after a couple of wet winters.
When people ask about lippage (one paver sitting a fraction higher than the next) or rocking, the instinct is to blame the install. Sometimes that’s right. But when the failure shows up as a repeating pattern (rocking in the same zone each spring, lippage across a band that runs perpendicular to the driveway’s long axis, or a section that lifts and drops seasonally), the base is reacting to soil movement underneath it. The installation may have been fine. The base simply wasn’t built to tolerate the movement.
Here’s how that changes the repair:
- Map the pattern first. Note where the problem appears and whether it recurs. A single rocking paver is a bedding issue. A band of rocking pavers that moves with the seasons is a soil movement issue.
- Confirm drainage is moving water away. Moisture is the engine of soil expansion. If any part of the driveway holds water, fix that before anything else.
- Consider a more tolerant base build. On expansive clay, base thickness, aggregate gradation, and edge restraint all matter more than they would on stable ground. A properly confined, well-compacted aggregate base resists the small movements that crack a thinner base.
- Add edge restraint where it’s missing. Pavers need to be held laterally. Without restraint, the assembly spreads and the joints widen, which lets more water in and amplifies everything else.
If you’ve been through this cycle more than once on the same driveway, it’s worth talking to someone who has worked on Fullerton ground before. That doesn’t mean replacing the whole driveway. It usually means rebuilding the affected areas with a base detail that handles the soil movement. For homeowners planning a larger exterior project alongside the driveway, coordinating the hardscape with fence installation and the house’s exterior work under one plan avoids the grade conflicts that cause drainage failures in the first place.
Joint Sand Erosion: The Correct Fix vs. the Band-Aid
The band-aid fix for joint sand erosion is pouring more sand on top. It works for about one rainy season, then the new sand washes out through the same path as the old. The correct fix is to find out why the sand is leaving and address that. Joint sand stays in place when the joints are the right width, when the pavers are held tight by edge restraint, and when water is sheeted off the surface instead of running across the joints.
What joint sand erosion actually looks like:
- Joints that are visibly empty or shallow when the rest of the driveway looks fine.
- Loose sand tracking onto the sidewalk or into the garage after rain.
- Weeds sprouting along joints because water and sunlight are reaching the base.
- Pavers that feel loose as the missing sand allows them to shift.
- Joint sand turning muddy during the wet season, which means soil is mixing in from below.
What the proper repair involves
- Clean out the joints fully. Polymer sand won’t bond to dirty, sandy, or wet joints. Old material has to come out.
- Check edge restraint and slope. If pavers are moving laterally or water is pooling, that has to be corrected before re-sanding. Otherwise the new sand washes out same as the old.
- Re-fill with the right product. Polymeric joint sand is formulated to set and resist washing out. Standard sand fills the joint but doesn’t lock it.
- Compact and settle. The sand needs to be swept in and settled fully, then top-dressed if the joints drop.
If the joints are already turning muddy, the sand-on-top approach won’t work at all. Mud means water is passing through the joint into the bedding and base, and the joint fill can’t fix that. That’s a drainage or base issue and needs the diagnostic described in the section above. Our Construction Fullerton team handles both the diagnostic work and the re-sand, so you get one answer instead of two conflicting opinions.
Stained and Efflorescence-Covered Pavers: Restore or Replace?
Most stained and efflorescence-covered pavers can be restored rather than replaced, but the decision hinges on whether the staining is surface-level or coming from inside the paver. Efflorescence is mineral salt that migrates to the surface as moisture moves through the paver and evaporates. It looks bad but doesn’t damage the paver. Surface stains from oil, rust, tire marks, or organic growth are usually removable. Stains that keep returning after cleaning are the ones that suggest moisture is cycling through the assembly, and those point back to a drainage or base problem.
How to tell them apart:
- Efflorescence: white, powdery, appears mostly in dry weather, dissolves off with water in many cases. Returns if the paver keeps wicking moisture.
- Rust staining: usually from metal furniture, fertilizer, or an iron element in the aggregate. Treatable with the right cleaner.
- Oil and tire stains: dark, surface-level, comes from vehicles. Treatable with a degreaser and some patience.
- Moss or organic growth: green or black, appears in shaded areas, indicates the area stays damp. Points to a drainage or shading issue.
- Deep permanent staining: discoloration that doesn’t respond to cleaning after multiple attempts, or that reappears within weeks. Suggests the paver itself is saturated repeatedly, which is a moisture issue downstream of the paver.
Restoration steps that work
- Test a small area first. A paver in a corner or near an edge lets you confirm whether the cleaner will work before you commit to the whole driveway.
- Start with the mildest cleaner. Efflorescence cleaners are formulated for mineral salt removal, and there are specific products for oil. Household bleach is not the answer for pavers, but plenty of videos suggest it.
- Rinse thoroughly and let the area dry completely. Residual cleaner can affect the appearance of a sealer if one gets applied later.
- Address moisture at the source. Cleaning a paver repeatedly is a signal that something upstream is sending water through it. Fixing the paver is the finish work; fixing the drainage is the actual fix.
- Sealing is optional and specific. Some pavers benefit from a sealer for stain resistance; others don’t need it. Modern manufactured pavers from brands like Belgard, Unilock, and Techo-Bloc are designed to perform without a sealer, and applying the wrong product can cause blotchiness.
Where restoration genuinely stops making sense: pavers that have been crushed or chipped from heavy loads, pavers in an area that’s failing structurally, and pavers whose color has faded beyond what the manufacturer intended. In those cases, replacing the affected units with the same line and color is the cleanest answer, and manufacturers maintain exact-match inventory for standard lines precisely for this reason.
What to Document Before You Call a Contractor
The difference between a diagnostic call and a worst-case bid is often the information you can hand the contractor before they arrive. We’ve seen homeowners get two wildly different estimates on the same driveway because one contractor got a thorough history and the other didn’t. The thorough history almost always produces the more accurate bid.
Here’s what to gather before you call:
- Photos of the problem area, taken at a few angles. Include a wide shot showing the driveway in context and a close shot showing the detail. Take one with a straightedge or a level laid across the low area if you have one.
- A note of when the problem first appeared and how it’s changed. Specifically: did it appear suddenly (could be a water event) or gradually (could be base or soil)? Did it get worse after rain, after heavy traffic, or seasonally?
- Drawings or a plan of the current driveway. Driveway width, slope from garage to street, and whether there’s any visible edge restraint or drainage channel.
- The installation date and any paperwork from the original build. If you know the paver brand and the installer, that helps. Belgard, Unilock, and Techo-Bloc all maintain installation guidelines and can sometimes help trace the original product line.
- History of drainage issues around the house. Where do downspouts discharge? Is there any standing water near the driveway after rain? Has the curb or gutter been regraded?
- What’s changed around the house. New landscaping, a fence install, a slope adjustment, an addition. Exterior construction can change how water moves across the property.
- A list of what’s already been tried. If you poured sand into the joints and it washed out in a month, that’s diagnostic information.
With that packet in hand, a contractor can usually narrow the diagnosis to one or two likely causes before they arrive, and give you a specific estimate instead of a range that covers every possibility. Free estimates should come with a real diagnosis, not just a number. If a contractor can’t explain why they recommend a specific repair based on what they see, ask why. The answer tells you a lot.
How to Prevent Repeat Failures
Prevention is mostly about getting the base, the drainage, and the edge restraint right at build time. Those three things are what determine whether a driveway lasts twenty years or starts settling in three. The paver itself, especially when specified from a known manufacturer, is rarely the weak link.
What to prioritize at build time or at rebuild time:
- Base thickness for the load. A pedestrian walkway and a vehicle driveway need different base depths. Make sure the base is built for what the surface will actually carry.
- Compaction in lifts. This is the step that gets skipped. Each layer should be compacted to density before the next goes down. A base that’s compacted only at the top looks fine and fails within a couple of seasons.
- Edge restraint along the whole perimeter. Without it, pavers spread over time and joints widen. Widened joints mean washed-out sand and more moisture in the assembly.
- Positive slope away from the house and off the surface. Even a small error compounds in a wet season. Get the slope right from the start.
- Drainage planned from the top of the driveway down. Where does the water leave the surface? Where is it routed once it’s off? The two answers should both be specific and not just “into the yard.”
- Subgrade preparation on clay-heavy ground. On the expansive clay that’s common around Fullerton, the subgrade may need more than a quick scrape and compact. Ask what the contractor’s plan is for the subgrade specifically, and listen for an actual answer.
If any of that sounds basic, that’s the point. Most paver failures we see aren’t exotic. They’re the result of a basic step getting skipped or rushed. The brands we work with (Belgard, Unilock, Techo-Bloc) all publish installation specifications for their products, and a contractor who’s specifying those brands should be building to those specifications. Not approximately. Actually.
Choosing Materials That Suit the Site
Material choice matters, but it matters less than the installation. A premium paver laid on a bad base will fail just like a commodity paver. A well-built base under a mid-grade paver will outlast both. If you’re specifying pavers for a Fullerton property, though, the material still shapes how the driveway looks after wear and how it behaves through seasonal soil movement.
A few considerations specific to this area:
- Color and heat. Darker pavers absorb more heat. In Fullerton’s summer, a dark driveway near a west-facing garage can get noticeably warmer than a lighter one. Not a failure risk, but a comfort consideration worth planning around.
- Joint width and finish. Tighter joint patterns hold joint sand better and reduce the sand-wash problem. Wider joints require more careful sand management.
- Coping and edge details. The edge is where the assembly most often loses its integrity. Specifying proper edge restraint along the perimeter, and not just decorative coping, is what keeps the field of pavers tight.
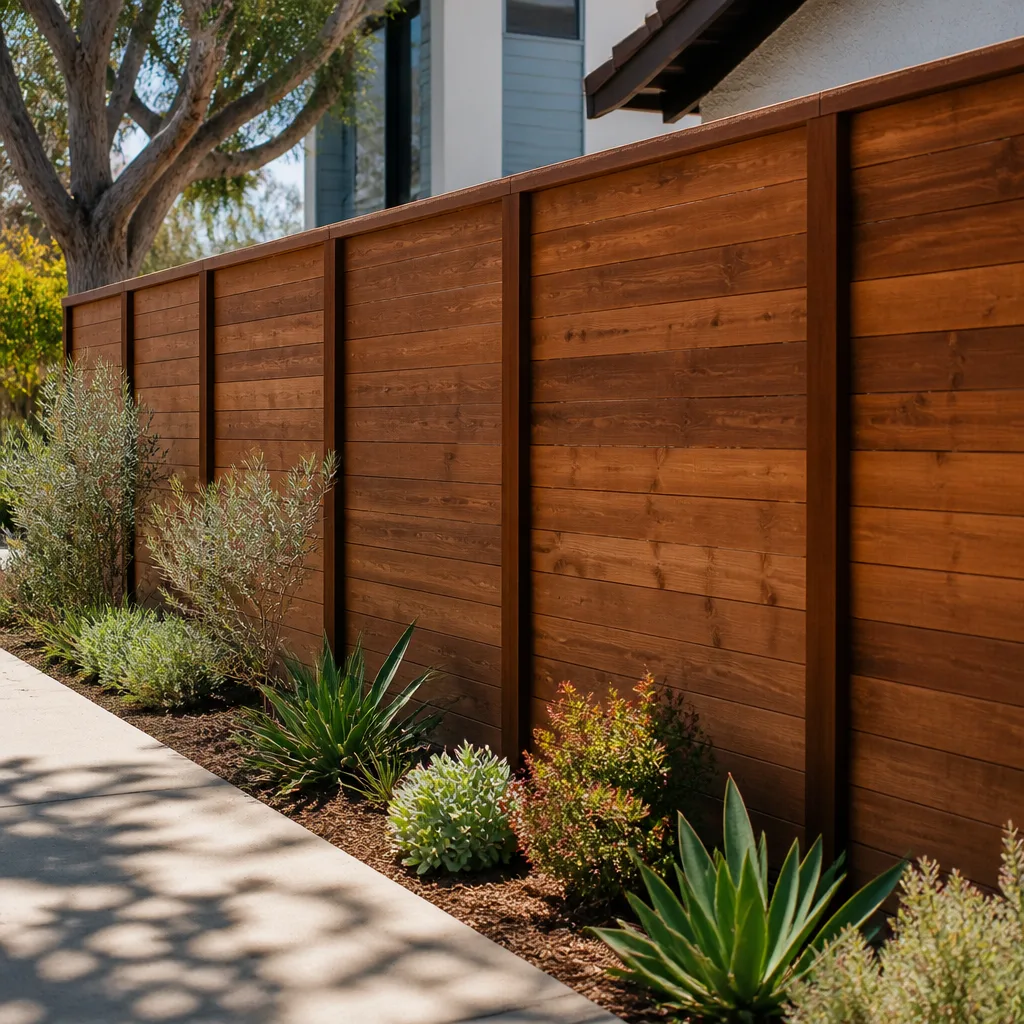
- Coordination with landscaping and fencing. Driveway, fence, and landscaping all interact at the grade line. If they’re planned together, water moves where it should. If they’re planned separately, the driveway often becomes the drainage point for everything uphill of it.
- Brand consistency for repairs. If you’re choosing a paver line, choose one that the manufacturer expects to keep in production. Belgard, Unilock, and Techo-Bloc all maintain standard lines with long production runs, which matters if you ever need to add on or repair.
What the specification process should look like
- Confirm the material selection with the homeowner before bidding. Not after. The chosen paver determines the joint width, and the joint width affects the base detail.
- Build the base to the paver manufacturer’s specification. Not to a general rule of thumb, and not to a budget shortcut.
- Set the drainage plan at the same time as the paver layout. The two should be drawn together, not added on afterward.
- Keep the installation documentation. Brand, line, color, and installation spec should all be recorded. That record is what makes a future repair or addition match the original.
That approach is what “you choose the brand, we handle the build” means in practice. The brand choice is yours, and the build should honor that choice rather than substituting something the contractor has on hand. Where a project extends beyond the driveway into a larger exterior renovation, coordinating the work as a single project with our home additions & ADU team keeps grade, drainage, and material selections consistent across the whole property. One contractor, every phase, so the pavers don’t get installed before the drainage that should sit underneath them is planned.
Common Mistakes to Avoid
- Pouring sand on top of eroding joints. It works for a season and then washes out through the same path. The fix is finding out why the sand is leaving, not adding more sand. Skip this one and save the money.
- Assuming sunken pavers mean bad pavers. They almost never do. The base, the bedding, or the drainage is the source. Replacing pavers on the same failing base is a waste of what’s already there.
- Sealing over a failing surface. A sealer on top of a driveway with joint erosion or drainage problems seals the moisture in and makes things worse. Fix the underlying issue first.
- Cleaning efflorescence with the wrong product. Household bleach and aggressive acid washes can damage the surface of some pavers. Efflorescence cleaners are specific. Read the label.
- Skipping the edge restraint conversation. Pavers need to be held laterally. Without restraint, joints widen, sand washes out, and the whole assembly loosens over a couple of seasons.
- Accepting a bid without the diagnosis behind it. If a contractor recommends a full replacement without pulling pavers or documenting why the base is the problem, ask for the diagnosis. The answer tells you whether the bid is accurate.
- Planning the driveway in isolation from the rest of the exterior. The driveway is where water from the whole property tends to end up. Fencing, landscaping, and drainage all need to be coordinated with the hardscape plan, not added afterward.
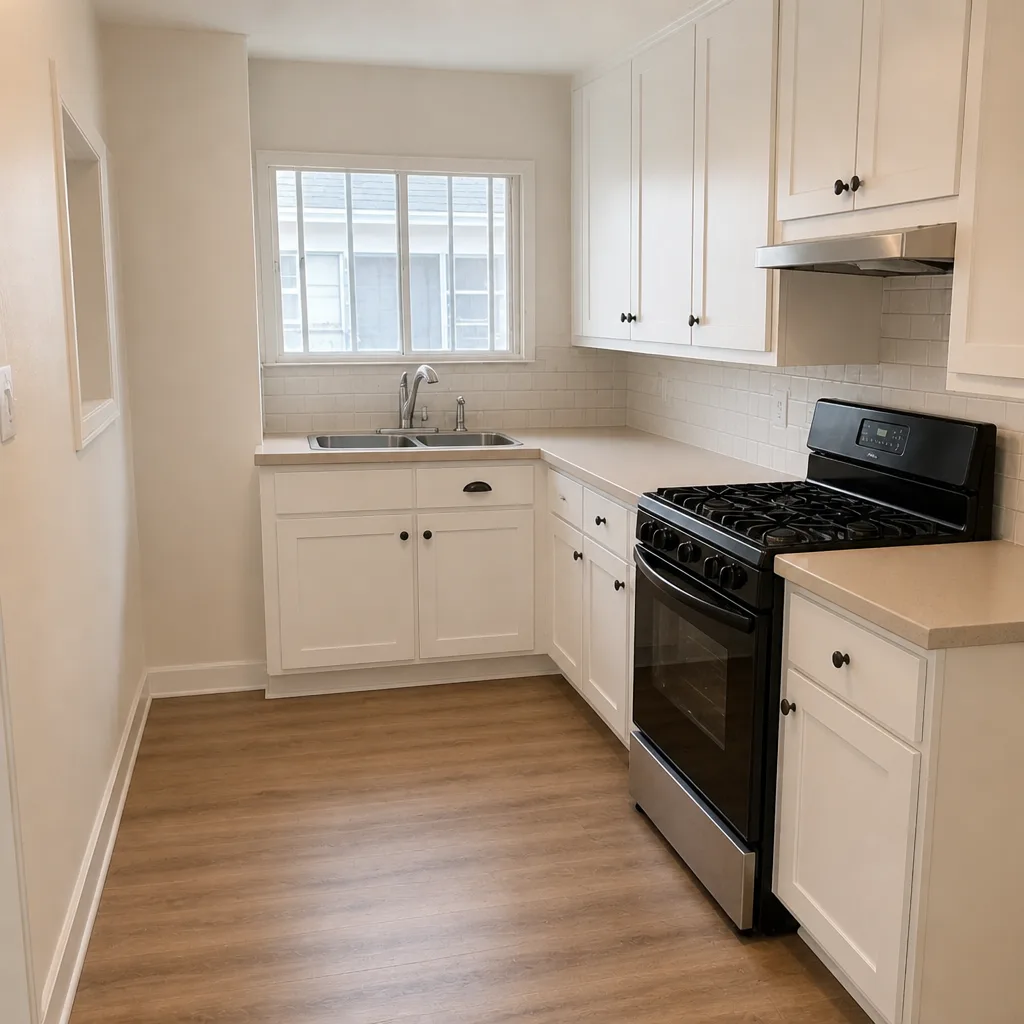
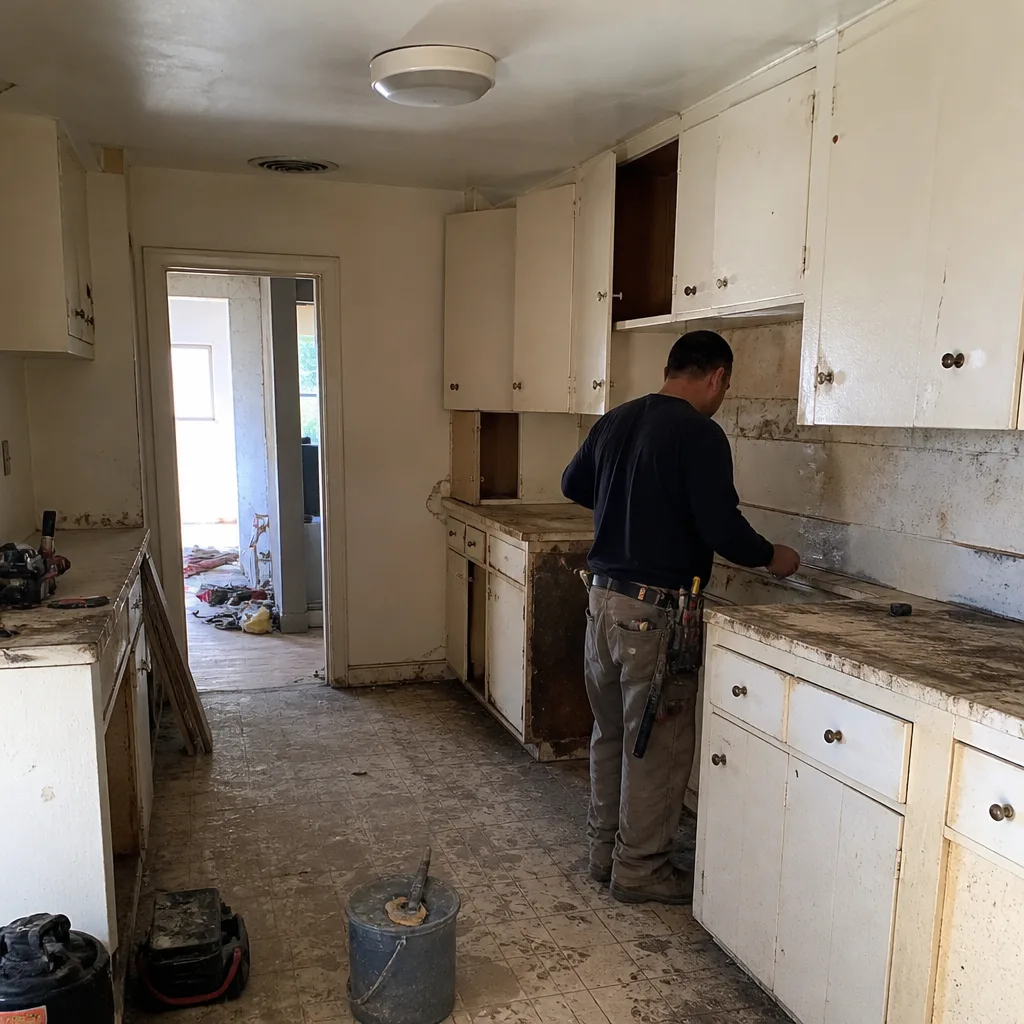
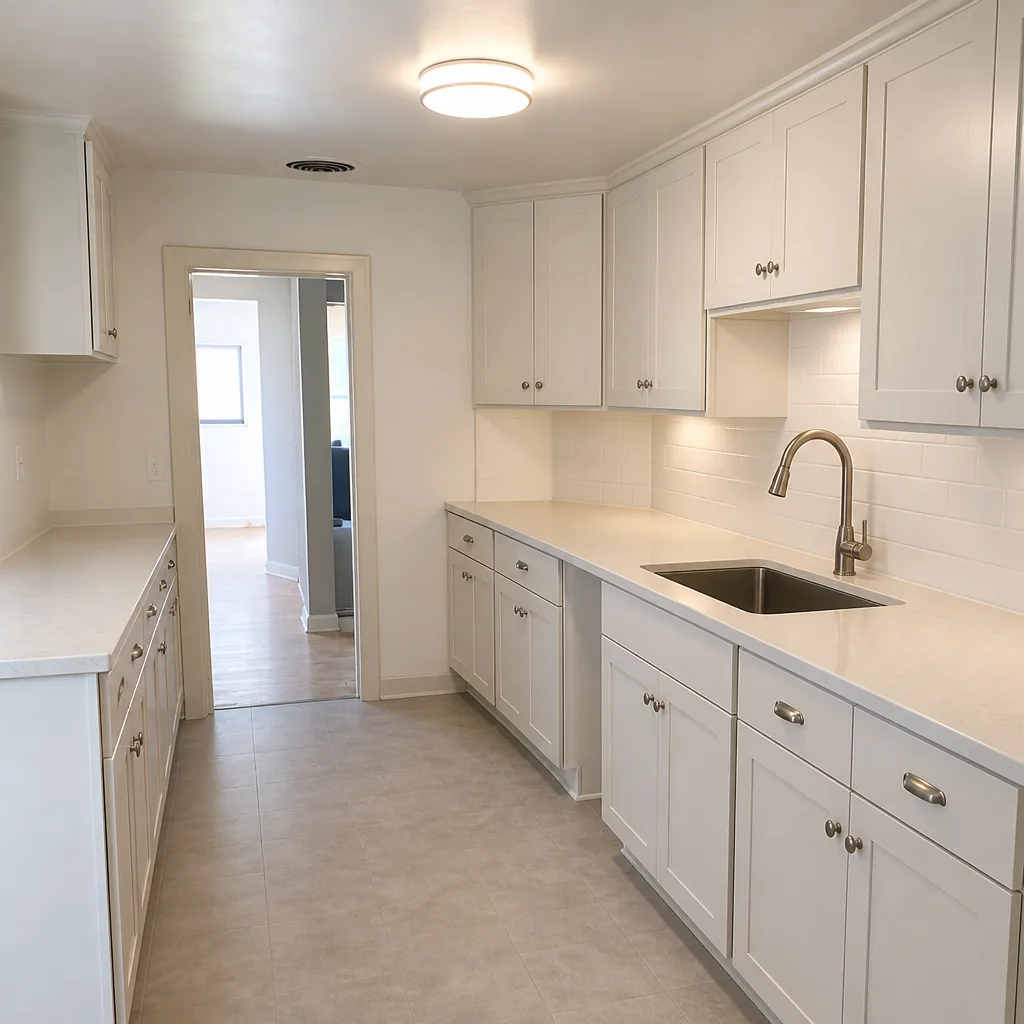
See the difference
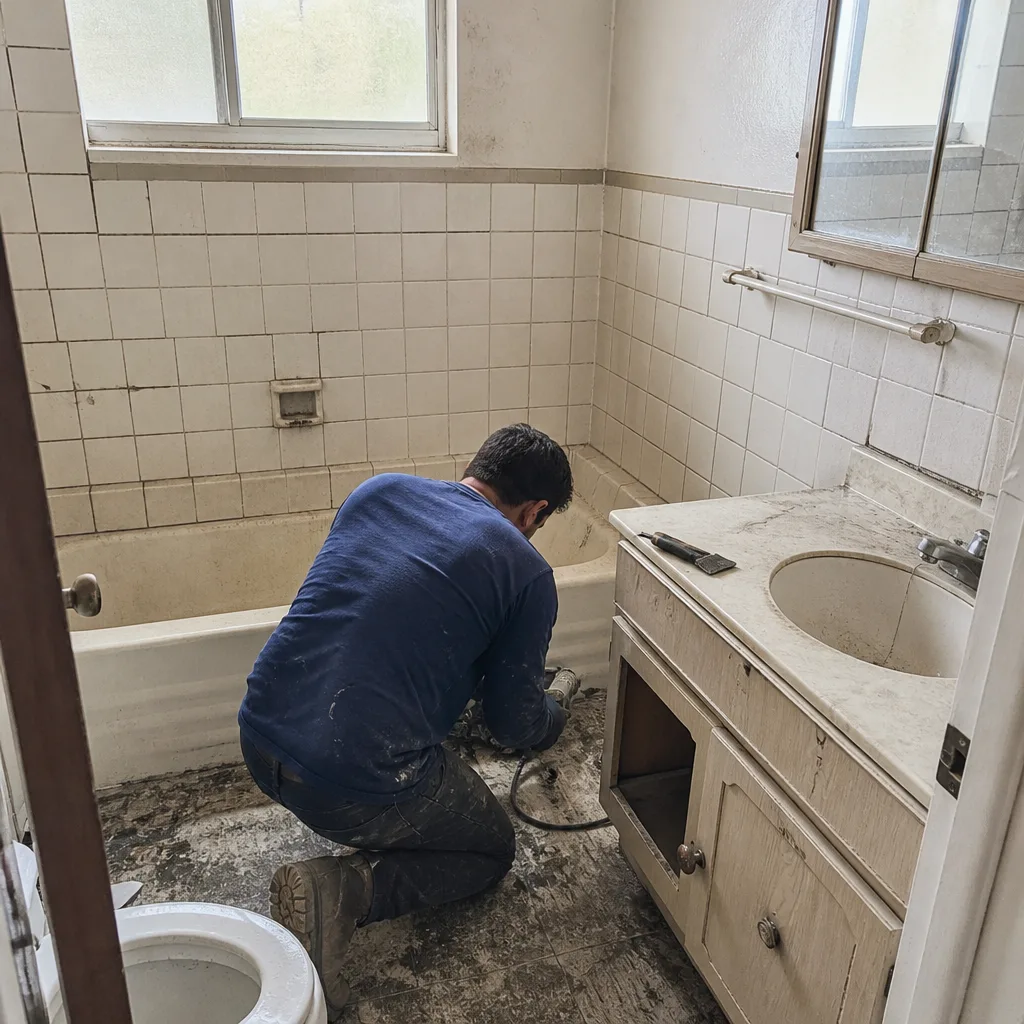 Before
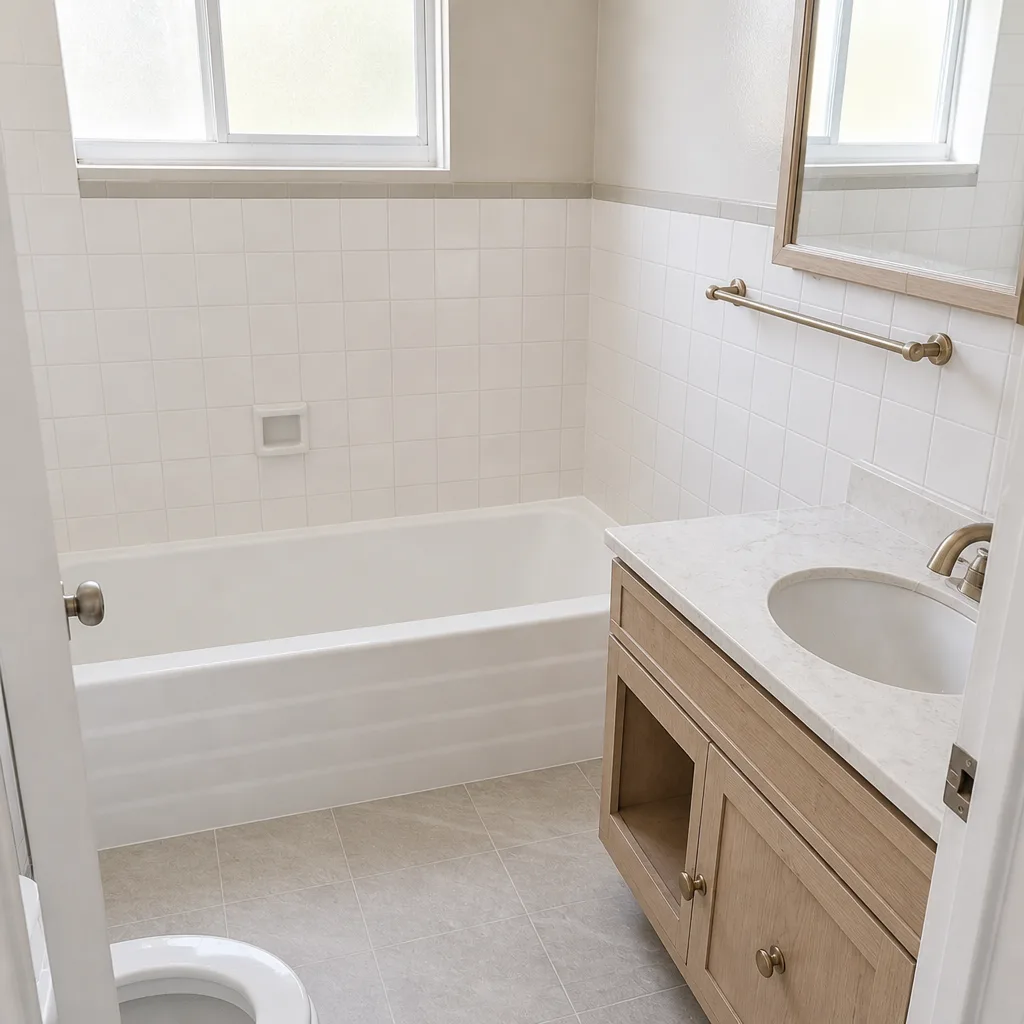 After
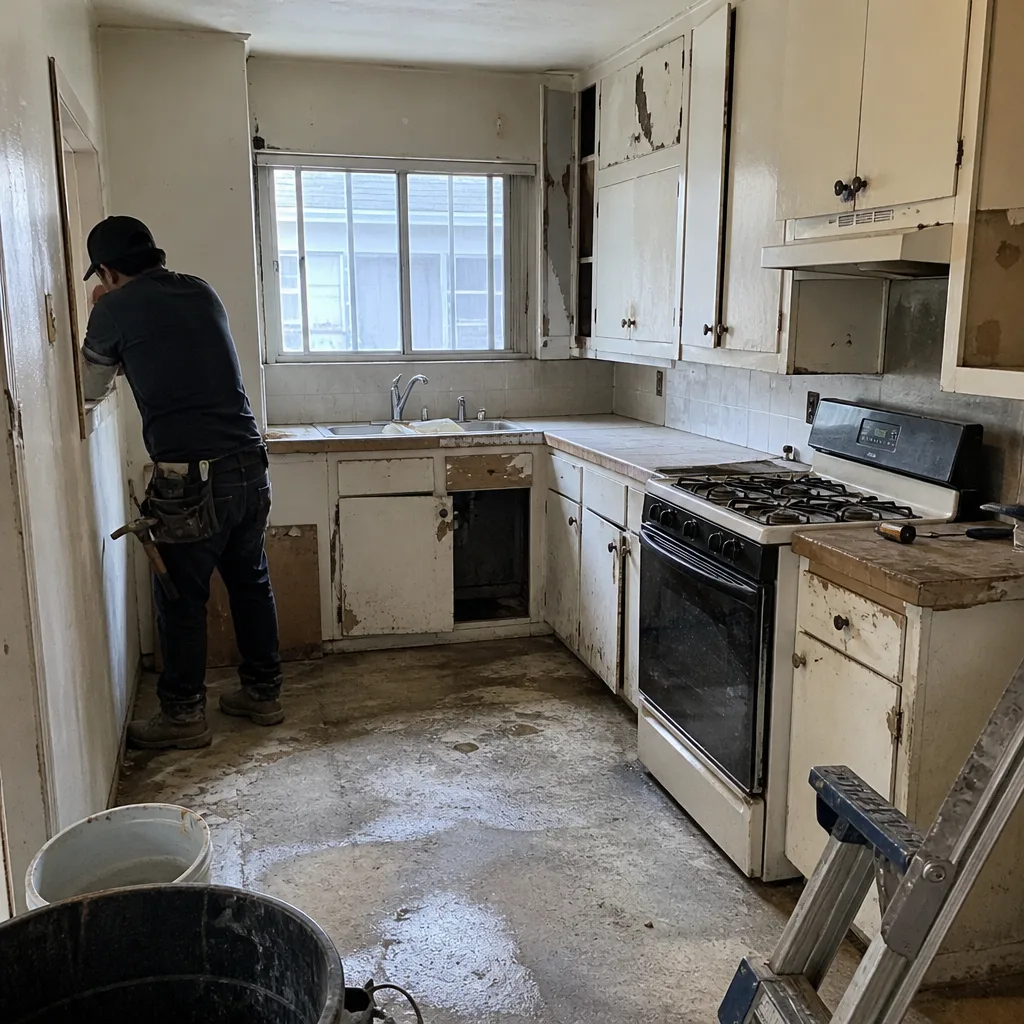 Before
 After
 Before
 After
When to Call a Professional
You need a professional when the symptom is widespread, seasonal, or recurring. A single rocking paver that can be lifted easily is something a homeowner can often diagnose and even repair with a small amount of material. But once the same area settles repeatedly across seasons, or once the joint sand keeps washing out within a month of re-sanding, the repair scope is bigger than it looks and the diagnosis matters. The base needs to be examined, the drainage needs to be mapped, and the repair needs to be specified before the work starts. That’s the point where a contractor’s diagnostic work saves real money. Construction Fullerton offers free estimates in Fullerton. Call (844) 834-8322. We answer 24/7. Fast dispatch from 7am to 7pm, Sunday through Friday.
Frequently Asked Questions
Typical paver repair in Fullerton ranges from a few hundred dollars for a localized re-bedding of a few pavers up to several thousand for a base rebuild across a section. The written estimate sets the final price after the diagnosis is complete. Call (844) 834-8322 for an exact quote. Estimates are free.
Paver rocking in Fullerton usually traces to one of three things: bedding sand that has shifted or eroded under a localized paver, a base that wasn’t compacted in lifts, or seasonal soil movement on the clay-heavy ground common in this area. The correct fix depends on which one it is, and the differentiator is whether the problem is a single paver or a whole section. Call (844) 834-8322 to schedule a diagnostic visit. Estimates are free.
Adding sand on top of eroding paver joints works for one season at best. The sand washes out through the same path that the original joint sand did because the cause wasn’t the amount of sand, it was the joint width, edge restraint, or water running across the surface. The proper fix is to correct the underlying issue and re-fill with the right joint material. Call (844) 834-8322 for a diagnosis before re-sanding again.
Base failures show up as wide areas dropping evenly and further each season. Drainage failures show up as repeating wet-season problems, joint sand turning to mud, and efflorescence that keeps returning after cleaning. The two look similar at the surface, and both need the pavers pulled for a real diagnosis. Call (844) 834-8322 for an estimate.
Efflorescence itself is cosmetic. It’s mineral salt that migrated to the surface as moisture moved through the paver and evaporated. The paver isn’t damaged by the salt. What matters is why the moisture is cycling through the paver, because that pattern often points to a drainage issue underneath. Call (844) 834-8322 to sort through whether your efflorescence is cosmetic or a symptom. Estimates are free.
Most pavers can be repaired rather than replaced when the problem is bedding, joint sand, drainage, or efflorescence. Replacement makes sense for pavers that have been crushed, chipped, or discolored beyond the manufacturer’s intended appearance, and for pavers in an area failing structurally. The diagnosis should come before the recommendation. Call (844) 834-8322 for a free estimate and an honest scope.
The Bottom Line
Most driveway and paver problems in Fullerton trace back to installation: base compaction, bedding sand, drainage, or joint sand. The paver itself is rarely the culprit. Getting the diagnosis right the first time is what separates a targeted repair from a whole-driveway rebuild, and the difference shows up in cost, disruption, and how long the repair lasts. If any of the symptoms in this guide sound familiar, don’t default to the biggest repair on the table. Get a real diagnosis, ask what the cause is, and match the repair to it. That’s the whole method. The rest is details. Call (844) 834-8322. We answer 24/7. Fast dispatch from 7am to 7pm, Sunday through Friday.
Written by the team at Construction Fullerton.